Bootstrap Checkbox Label
Overview
In some instances the elementary items may possibly become quite necessary-- especially each time you come to need them. For instance how do your site visitors connect with the pages you create claiming a basic Boolean action-- simply just yes or no relating to a number of the issues you need to request, precisely how they do confirm the conditions or line up a handful of the practical preferences they might possess. We normally surpass this without paying a lot of an recognition to the element responsible for such activities but the Bootstrap Checkbox Class is really a very serious component-- one our forms cannot in fact do without.
Located in current fourth edition of the Bootstrap system we are supplied with the .form-check and also .form-check-label classes to present the good old default checkbox component and in the event that you would really need them stacked simply make certain you have definitely wrapped all of them in an extra <div> with the .form-check class selected to it. In order your checkboxes to display properly in Bootstrap 4 you should additionally assign the .form-check-label class to the <label> component and the <input> tag in itself ought to have the .form-check-input class.
Effective ways to use the Bootstrap checkbox:
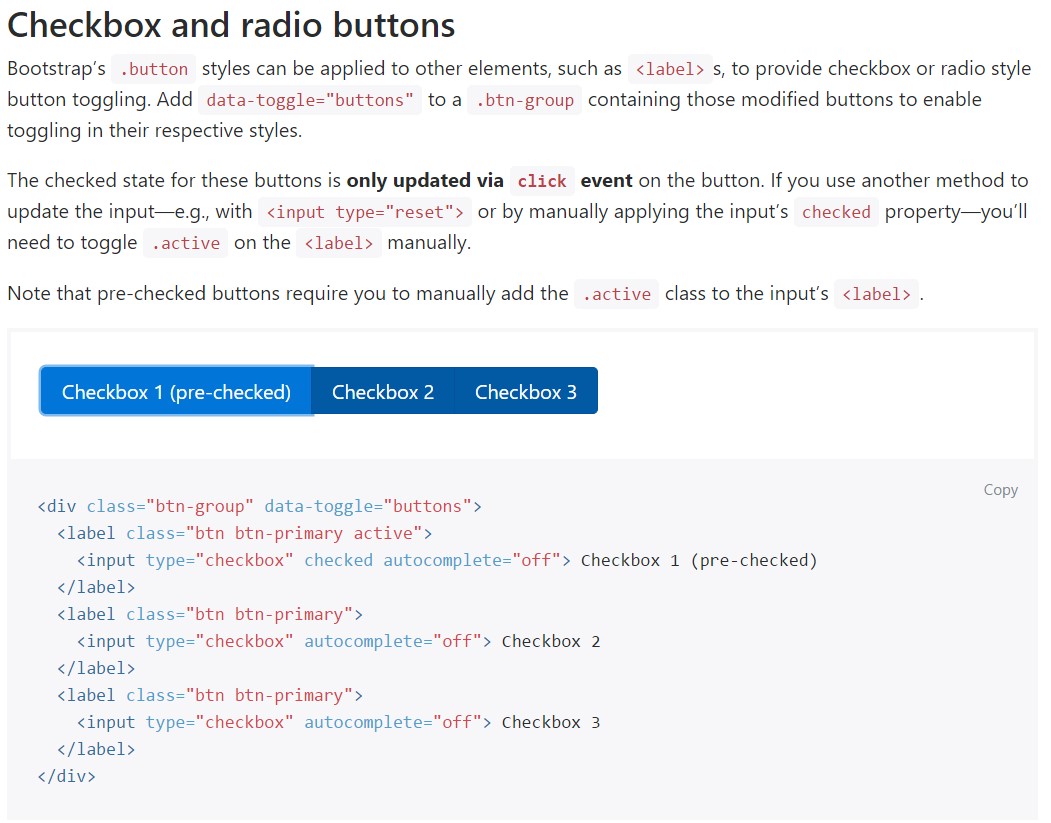
The checked state for these buttons is only updated via click event on the button.

<div class="btn-group" data-toggle="buttons">
  <label class="btn btn-primary active">
    <input type="checkbox" checked autocomplete="off"> Checkbox 1 (pre-checked)
  </label>
  <label class="btn btn-primary">
    <input type="checkbox" autocomplete="off"> Checkbox 2
  </label>
  <label class="btn btn-primary">
    <input type="checkbox" autocomplete="off"> Checkbox 3
  </label>
</div>
Once in a while we require the checkboxes to be within our forms without the user truly having the opportunity to make some activity clicking them-- that is actually where exactly the disabled option comes in.
In order to disable appropriately a checkbox in Bootstrap 4 using the standard HTML attribute disabled attribute along with just incorporating it you could easily additionally format the pointer each time the website visitor hovers over the disabled element altering it to a "not enabled " icon having your forms even more intuitive and straightforward to work with.
In case you really like the tip and really desire to accomplish this you need to designate the .disabled class to the parent .form-check component so as the result to showcase finest while the whole feature has been actually hovered-- this will make it considerably more clear
Another example
If working with checkboxes, wrap all of them in a <label> element through the Bootstrap 4 .custom-control plus .custom-checkbox classes utilized.
Employ .custom-control-input to the certain <input> element.
In addition work with two <span> elements: one with the .custom-control-indicator class added, and the other with .custom-control-description ( and also put the concrete label into this element).
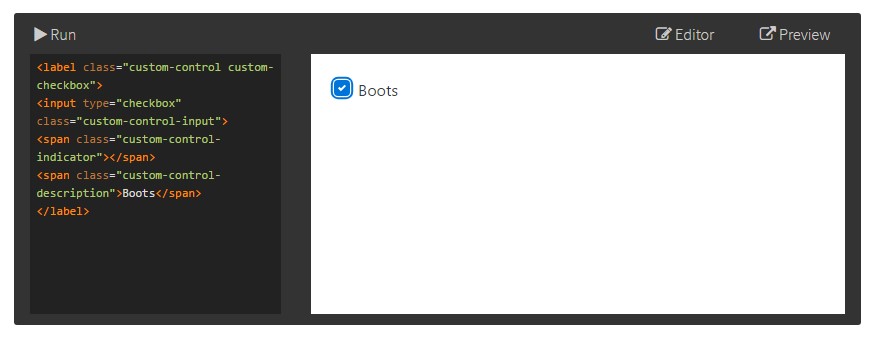
<label class="custom-control custom-checkbox">
<input type="checkbox" class="custom-control-input">
<span class="custom-control-indicator"></span>
<span class="custom-control-description">Boots</span>
</label>
Bootstrap Checkbox Design forms
Default radios and checkboxes are enhanced upon with the support of .form-check, a single class for both input types that develops the layout and behavior of their HTML elements. Checkboxes are for picking one or several selections within a selection, at the same time radios are for selecting just one option from numerous.
Disabled checkboxes and radios are maintained, still, to provide a not-allowed cursor on hover of the parent <label>, you'll require to add in the .disabled class to the parent .form-check. The disabled class is going to also make lighter the message coloration to help signify the input's state.
A new thing for the Bootstrap version 4 framework is the arrival of the so called custom-made form components. These are the same components we are familiar with in practicality however designated much more attractive and in the Bootstrap approach. With them you can surely add special spice as well as personality to your information by simply just assigning a couple of special classes to the controls you incorporate in your forms.
In order to operate custom made checkboxes wrap them within a <label> element appointing to it the .custom-control and .custom-checkbox classes. Whenever designing the <input> element ensure that you have actually likewise incorporated the .custom-control-input to it. You must likewise apply two <span> elements - one having .custom-control-indicator class applied and other having the .custom-control-description class along with the actual specification you would undoubtedly need to have to attach to the label your Bootstrap Checkbox State.
Final thoughts
That's literally all you need to handle in order to set a checkbox component inside of your Bootstrap 4 powered site and bring in some custom flavor to it providing it a tasteful appeals. Currently all you need to do is repeat the practice unless you have actually examined every one of the checkboxes desired are already on the page.
Look at some youtube video training relating to Bootstrap checkbox
Linked topics:
Bootstrap checkbox official documents
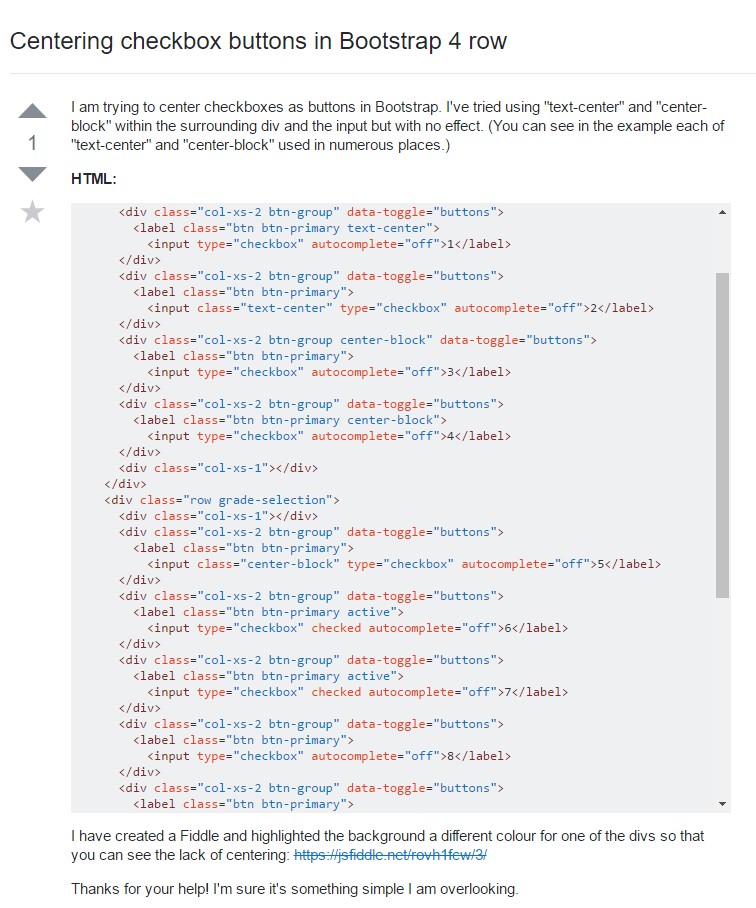
Centering checkbox buttons in Bootstrap 4 row
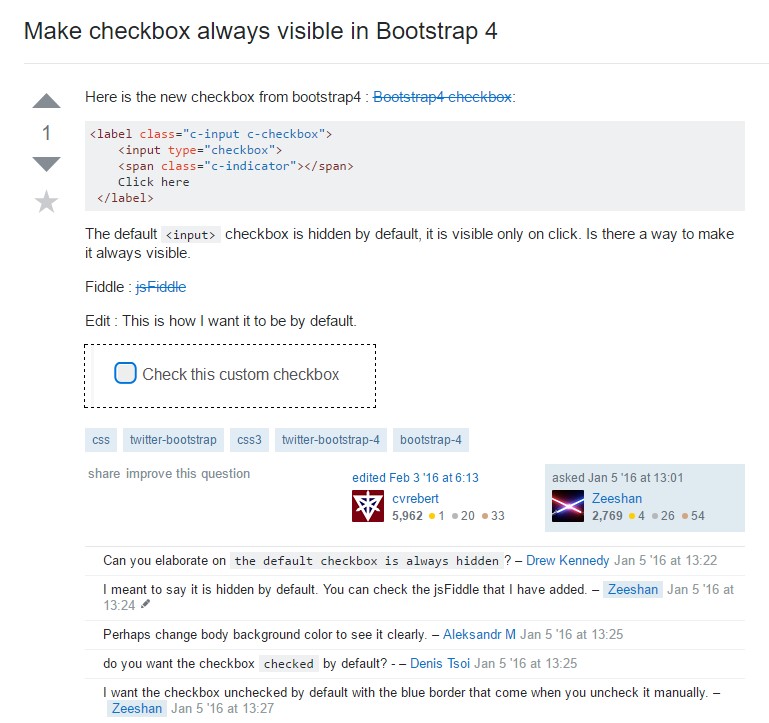
Make checkbox always visible in Bootstrap 4